
If you want to transfer your domains from Google Domains to Cloudflare, we got you covered. This comes hot off the heels of the announcement of Squarespace purchasing Google Domains registrations late last week.
We considered using Cloudflare as a CDN feature but were pushed into moving forward and becoming a registrar customer after hearing the news. We expect many of you to be in the same boat since you may not want to be a customer of Squarespace.
Besides getting protection and speed increases by using Cloudflare, the good news is that you will also get wholesale prices on your domains! Google Domains was priced reasonably well, and Cloudflare offers cheaper registration and renewal options.
That is 3 wins all around!
Table of Contents
What Is Happening With Google Domains?
Many Google Domains users discovered a sudden announcement where they learned Squarespace was taking over the Google Domains registrar business and assets. Here are the facts:
- Google Domains is “winding down following a transition period” and will engage in "efforts to sharpen our focus."
- Squarespace has “entered into a definitive asset purchase agreement with Google, whereby Squarespace will acquire the assets associated with the Google Domains business, approximately 10 million domains hosted on Google Domains spread across millions of customers.”
- Squarespace said to “honor all existing Google Domains customers’ renewal prices for at least 12 months following the closing of the transaction,” which is expected by Q3 2023.
- Squarespace “will become the exclusive domains provider for any customer purchasing a domain along with their Workspace subscription from Google directly for a minimum of three years.”
- Squarespace will also provide billing and support services to Google Workspace customers who signed up through Google Domains. If you signed up for Google Workspace directly through Workspace, you don't have to worry about this.
- Customers will continue to have the option to change their Domains account anytime.
- There is no immediate impact, so you have time to transfer if you wish to do so.
- "Once regulatory approvals are obtained, and the transaction closes, you will become a customer of Squarespace, and your domain will be owned and managed by Squarespace after a transition period."
“Supporting a smooth transition for customers over the coming months, with the help of the Google Domains team, is our top priority. Squarespace can provide an integrated experience of purchasing and managing domains along with offering other tools that these customers may need to build their online presence.”
Matt Madrigal, VP and General Manager of Merchant Shopping of Google
Domain Transfer Process From Google Domains to Cloudflare
We used this process to transfer our domains and our remaining client-managed domains. A little over 50 domains in about 2 days. Not too bad.
There were gotchas we had to work through, which we will detail towards the end of the post to help make your transfers as smooth as possible.
When you go to the Transfer Domains page under Domain Registration, you will see that it is empty. You must add your domain to Cloudflare before beginning the transfer.

The transfer instructions link details the transfer procedure from their perspective. One thing of note is that if you use Cloudflare Registrar, you must use their DNS and Nameservers.
1. Add Site to Cloudflare
Start by clicking Add a Site button or Add Site in the top navigation bar, depending on where you are.

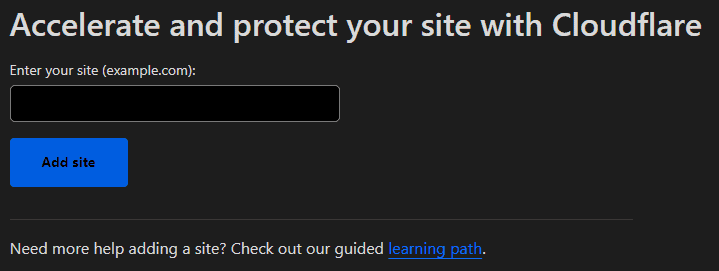
Enter the domain name you wish to transfer and confirm with the Add site button. You can add multiple sites and have all of them pending until you complete the process for each one.
2. Log In to Google Domains
Log in to your Google Domains account. We will do the prep work to start the transfer process. Do not make any changes to the Registrant contact information. Updating the Registrant contact may result in your current registrar locking the domain for 60 days.
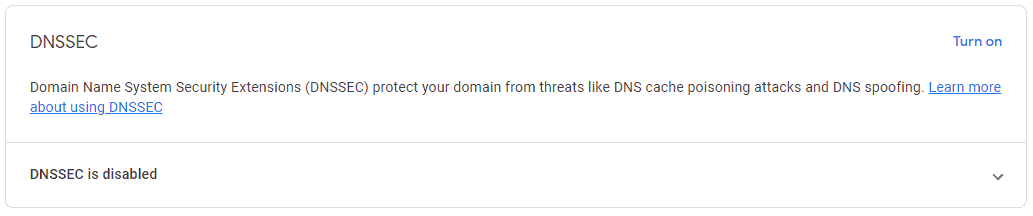
If you have DNSSEC enabled, disable it by clicking the Manage link to the domain and navigating to the DNS menu item. Then click the Turn Off link if it is enabled. If it shows DNSSEC is disabled, there is nothing you need to do here.
For more info, you can read Set up DNSSEC & DNS security on Google Domains Help.
Next, you need to turn off the domain lock. This is a protection mechanism to prevent unauthorized domain transfers.
Go to Registration settings in the menu area and scroll down to Domain lock.

Toggle the domain lock to turn it off. If you do not do this step, Cloudflare will see the status:
"The following domains are unavailable for transfer: example.com Registry status: Client transfer prohibited. Please unlock and allow a few hours to update."
For more info, you can read Change your domain lock setting on Google Domains Help.

Some registrars require you to remove WHOIS privacy. You do not need to do that here. It will transfer with contact privacy enabled.
3. Continuing With Cloudflare
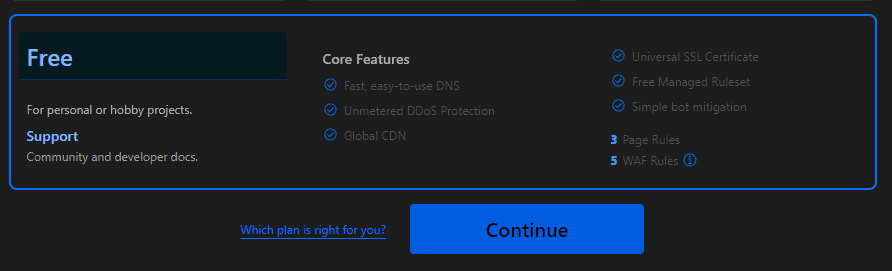
In Step 1 of 3 of adding your domain, choose the Free plan and click the Continue button. The Free plan is to get you started. You can upgrade plans later if you need to.
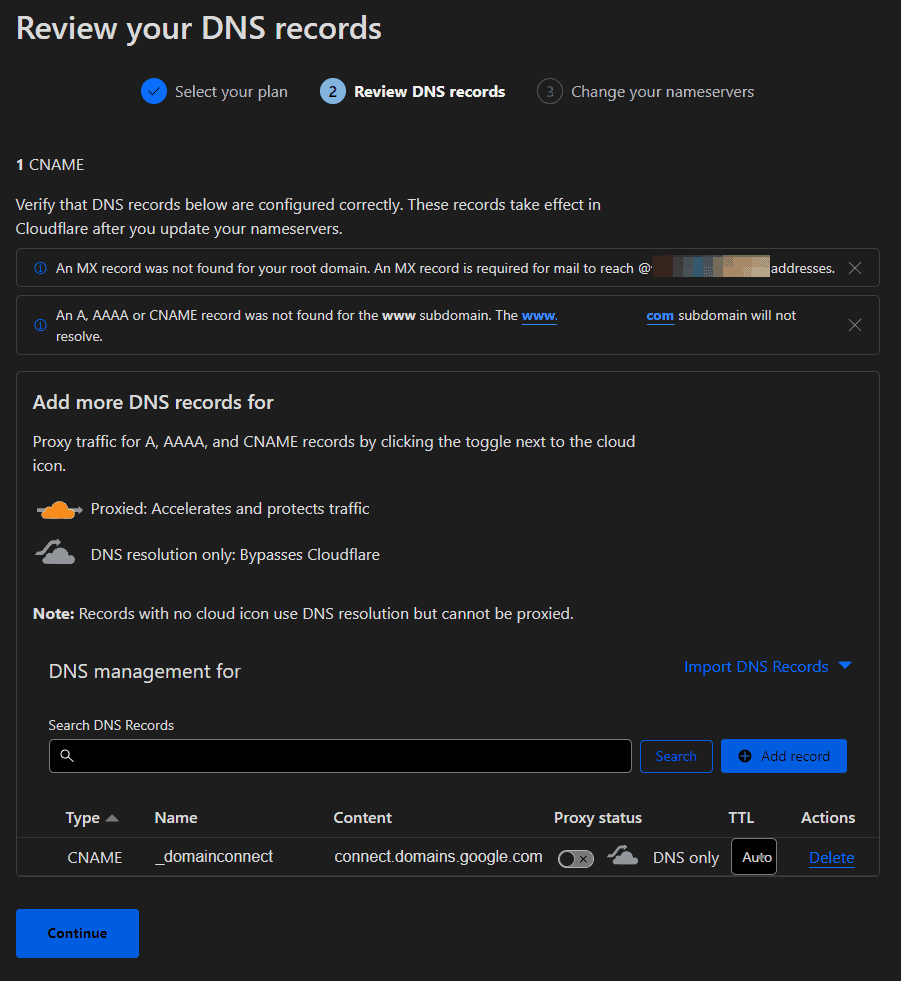
Next, you want to review your DNS Records. You can change these later if you don't want to worry about them now. You will most likely have to troubleshoot in the near future anyway.
However, if you have MX records (email), make sure the MX records are in place correctly with Cloudflare. Cloudflare should detect and import the current settings properly, but they may not.
If your MX records do not carry over, your email may become undeliverable until the MX records are properly updated.
From Cloudflare:
As mentioned in Review DNS records in Cloudflare, when moving your domain to Cloudflare Registrar, you might need to configure your DNS records to correctly point traffic to your web host. Cloudflare automatically scans for common records and adds them to your account’s DNS page, but the scan is not guaranteed to find all existing DNS records.
You’ll be prompted to change your nameservers to values provided by Cloudflare at the Overview. The current nameservers will display up top, with the replacement nameservers listed below.
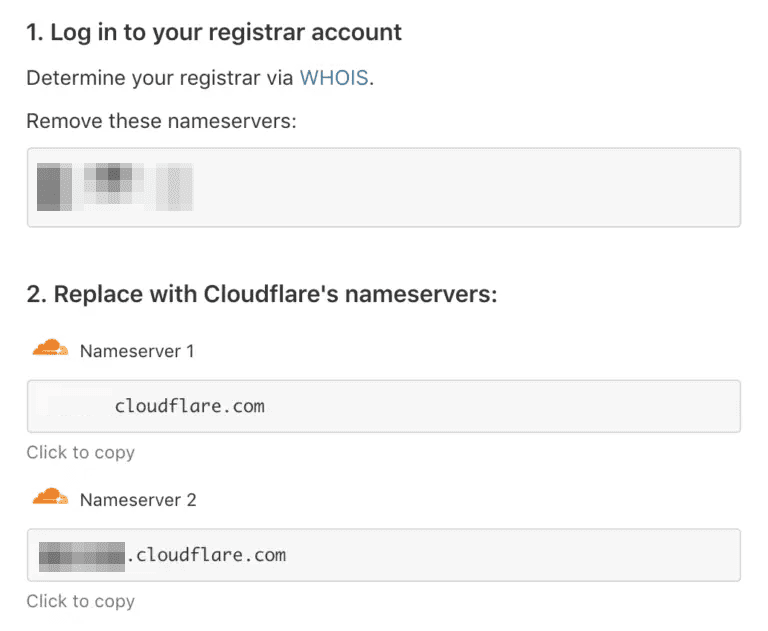
Your domain is considered a zone to Cloudflare, and these 2 assigned authoritative nameservers are necessary to move forward.
Other than that, there's nothing to see here until nameservers have been updated and the changes have propagated.
4. Update Your Nameservers on Google Domains
You might be on the Default Google name servers in your domain under the DNS menu item.

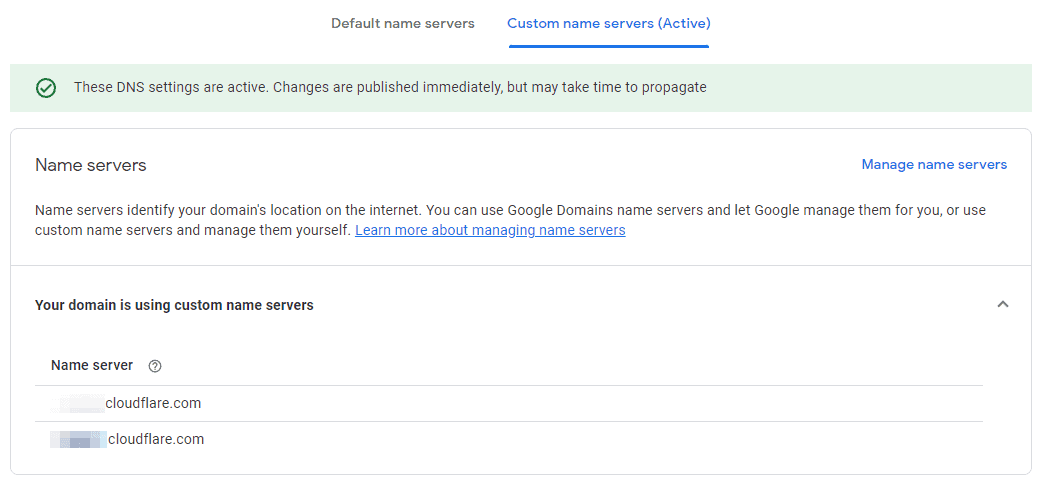
Click on Custom name servers and add the 2 Cloudflare names servers given to you earlier. Once you are done, click the Save button.
After that, Click the Switch to these settings link in the yellow alert.

After clicking the Switch to these settings link, you will see the message stating your new DNS settings are active.
You can read more about Manage domain name servers on Google Domains Help.
Once you’ve saved the proper Cloudflare name server values in Google Domains, the changes should update in Cloudflare within a few minutes. Changes affecting DNS can sometimes take up to 24 hours, though.
Don't worry. There won’t be any downtime during the transfer. You can always check the progress manually in Cloudflare by clicking the Re-check now button without refreshing the page.
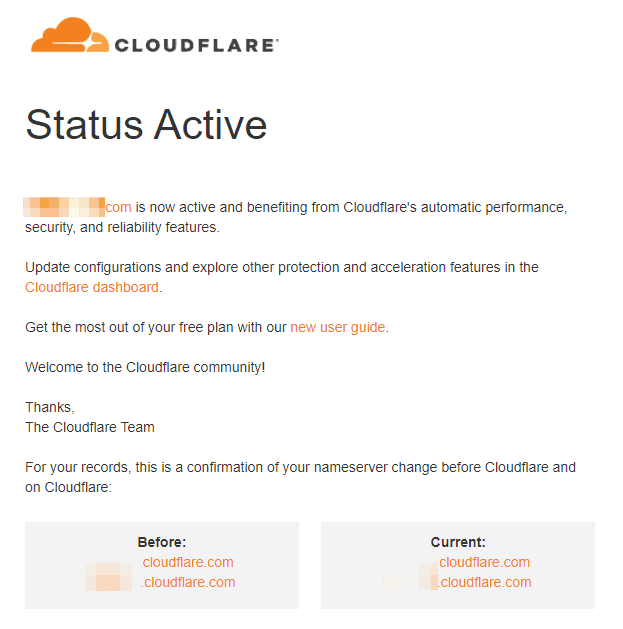
When your domain is active, you will receive an email from Cloudflare confirming the status. The domain will also have a status of Active on the Websites page of your account.
5. Start Transfer On Cloudflare
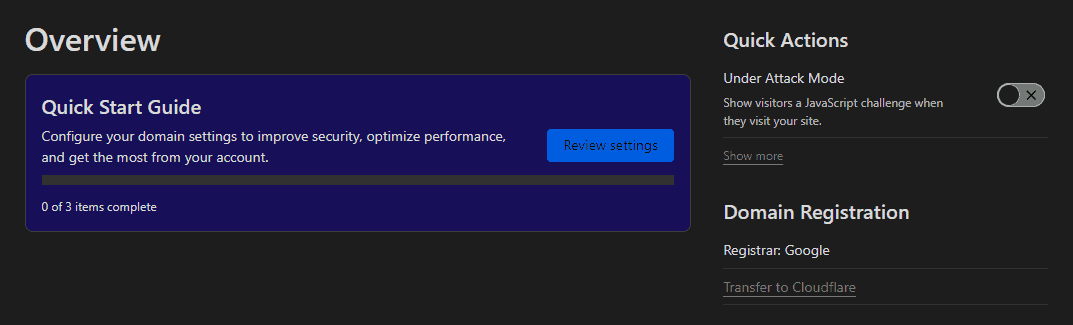
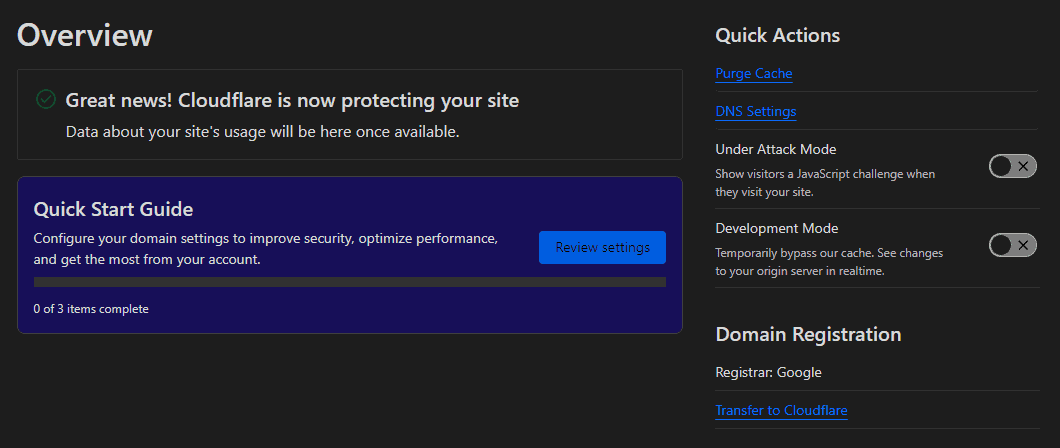
Looking back at your Overview page for the domain, you'll notice a different look, indicating Cloudflare is protecting your site. You can now click on the Transfer to Cloudflare link, which was greyed out before.
Select your domain and click Continue and Proceed.
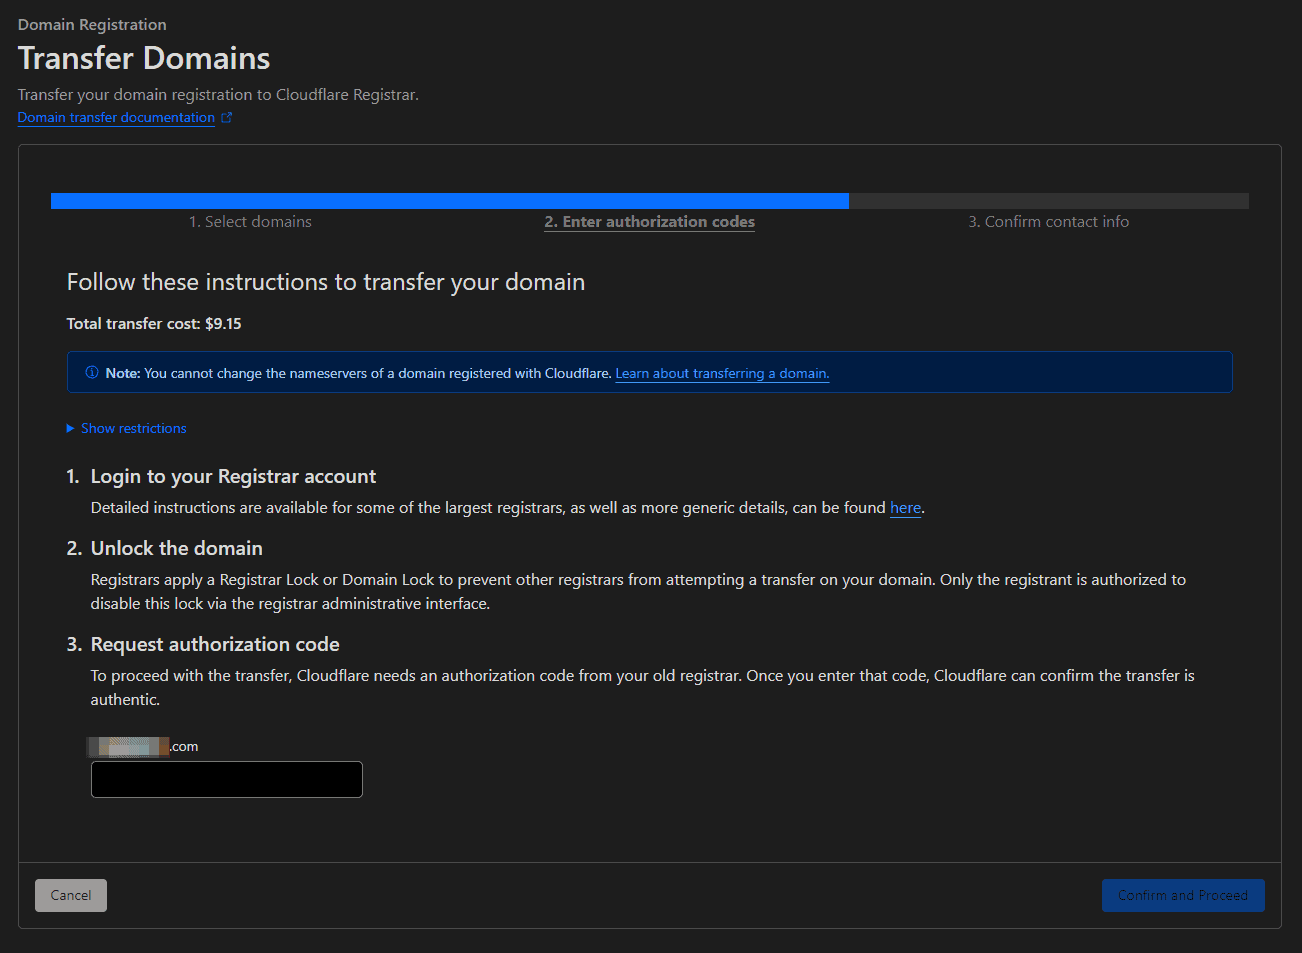
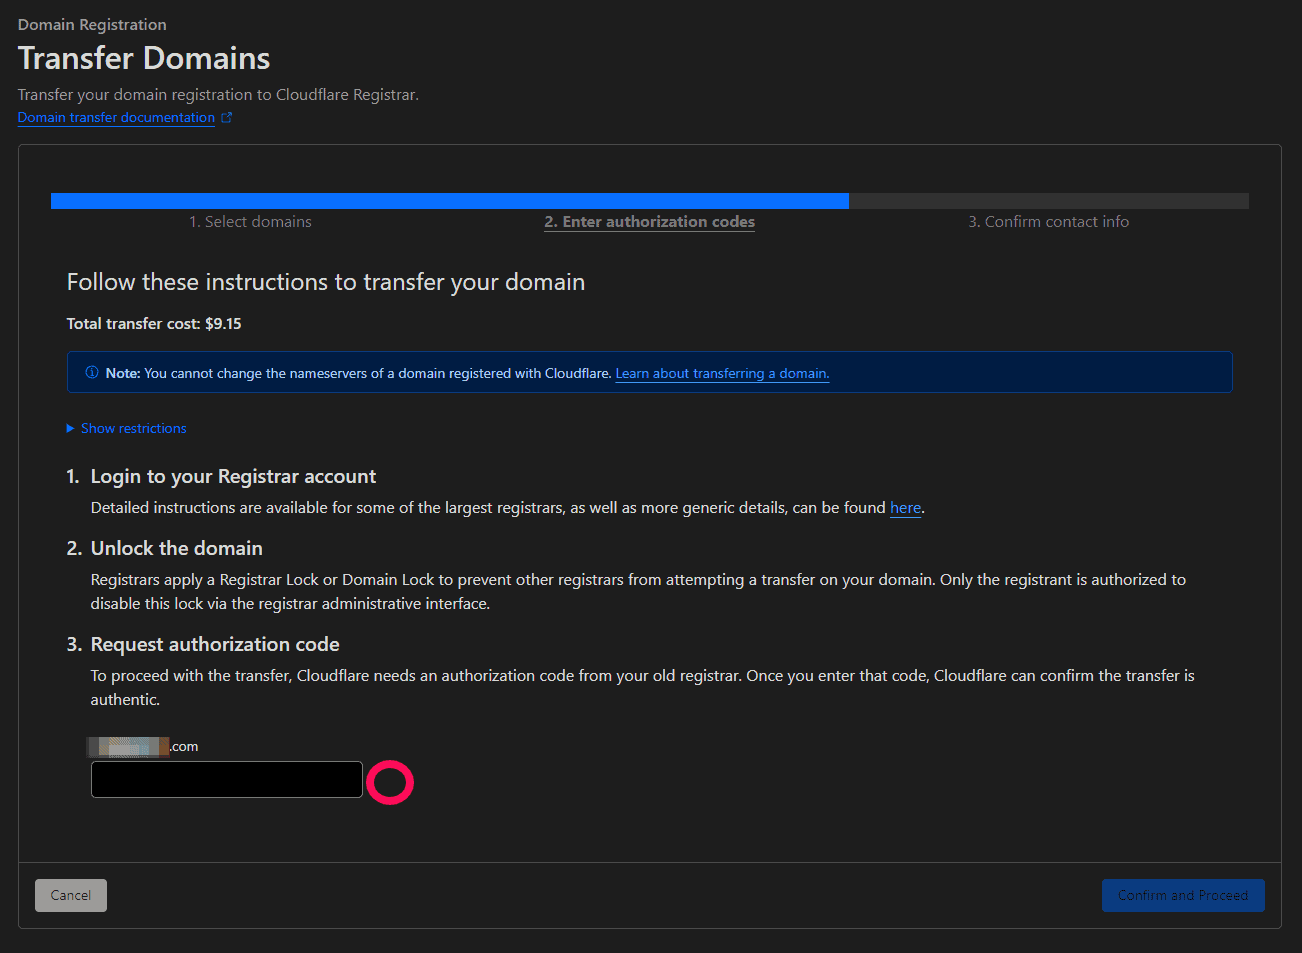
Now it's time to request the authorization code. If you are transferring multiple domains, unlock each so that Cloudflare can process your request. You will need to enter unlock codes for each domain on this page.
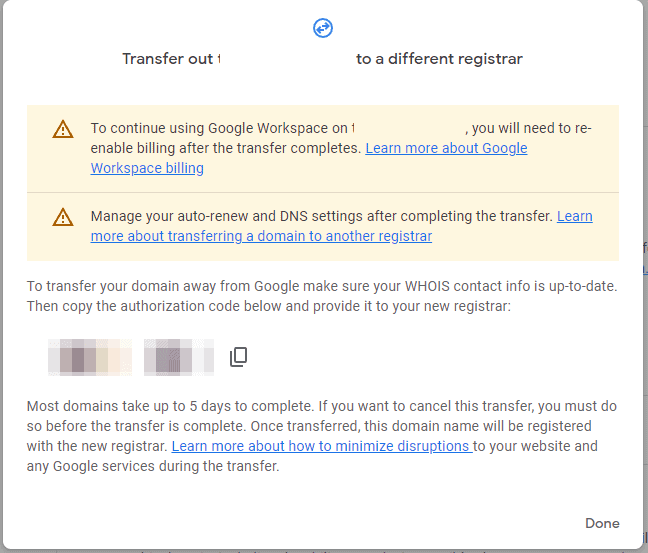
Go back to your Google Domains page. Under Registration settings in the menu area, scroll back down past Domain lock to Transfer out. Click the Get auth code link to the right.

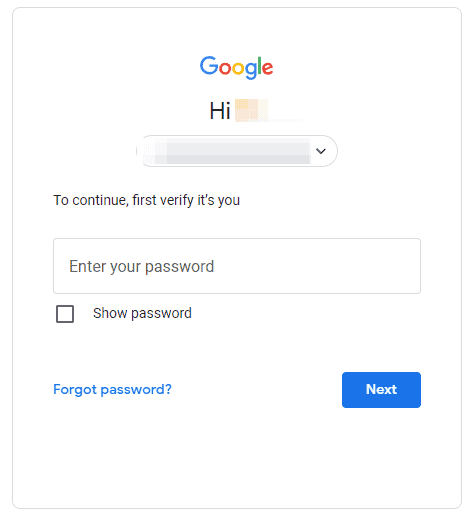
You will be asked to sign in again. Enter your password and click the Next button to continue.
From here, press the copy icon to copy the 16-character authorization code. Click the Done link when finished.
To read more about transfers from Google Domains, check out Transfer from Google Domains to another registrar on Google Domains Help.
Back on Cloudflare, paste this code into the Request authorization code textbox. After pasting the authorization code, there will be a green checkmark to the right of the textbox, denoted by the red circle in the image below.
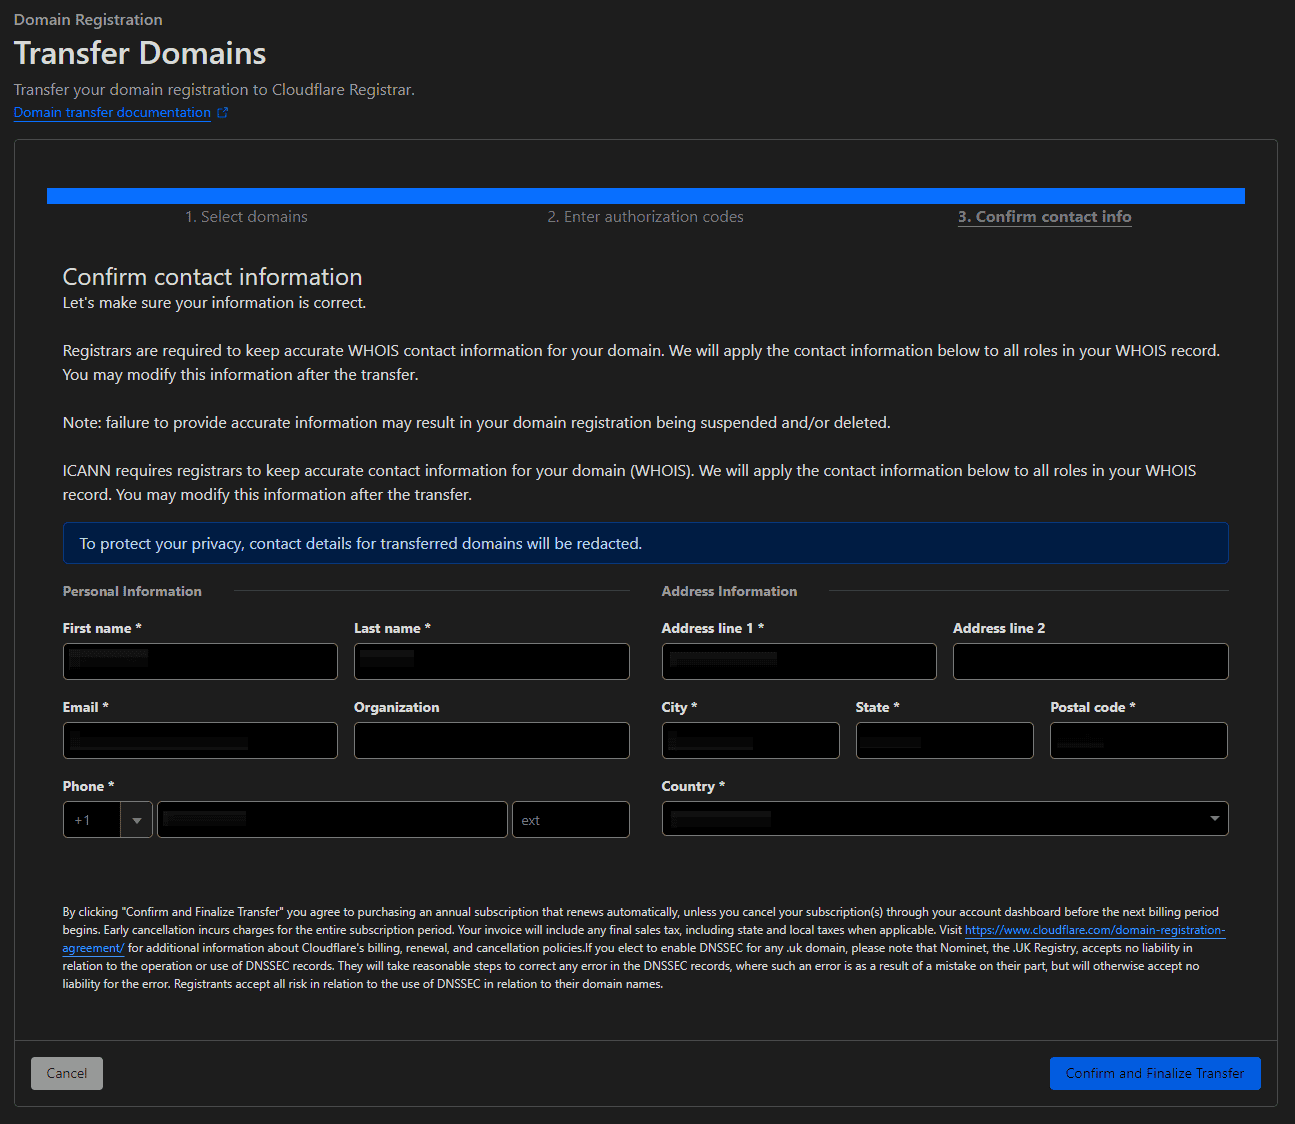
6. Confirm or Input Your Contact Information
From Cloudflare:
In the final stage of the transfer process, input the contact information for your registration. Cloudflare Registrar redacts most of this information by default but is required to collect the authentic contact information for this registration.
It is important that you provide accurate WHOIS contact information. You may be required to verify the contact information. Failure to provide accurate information and/or failure to verify the information may result in suspension or deletion of your domain.
You can always modify the contact information later if needed.
After entering the contact information, agree to the domain registration terms of service by clicking the Confirm and Finalize Transfer button.
You must enter payment details if you don't have a saved payment method. Even though Cloudflare combines multiple domains in an invoice, you will still get charged separately for each domain.
Depending on your credit card servicer, you may need to contact them to prevent them from flagging these charges as fraudulent.
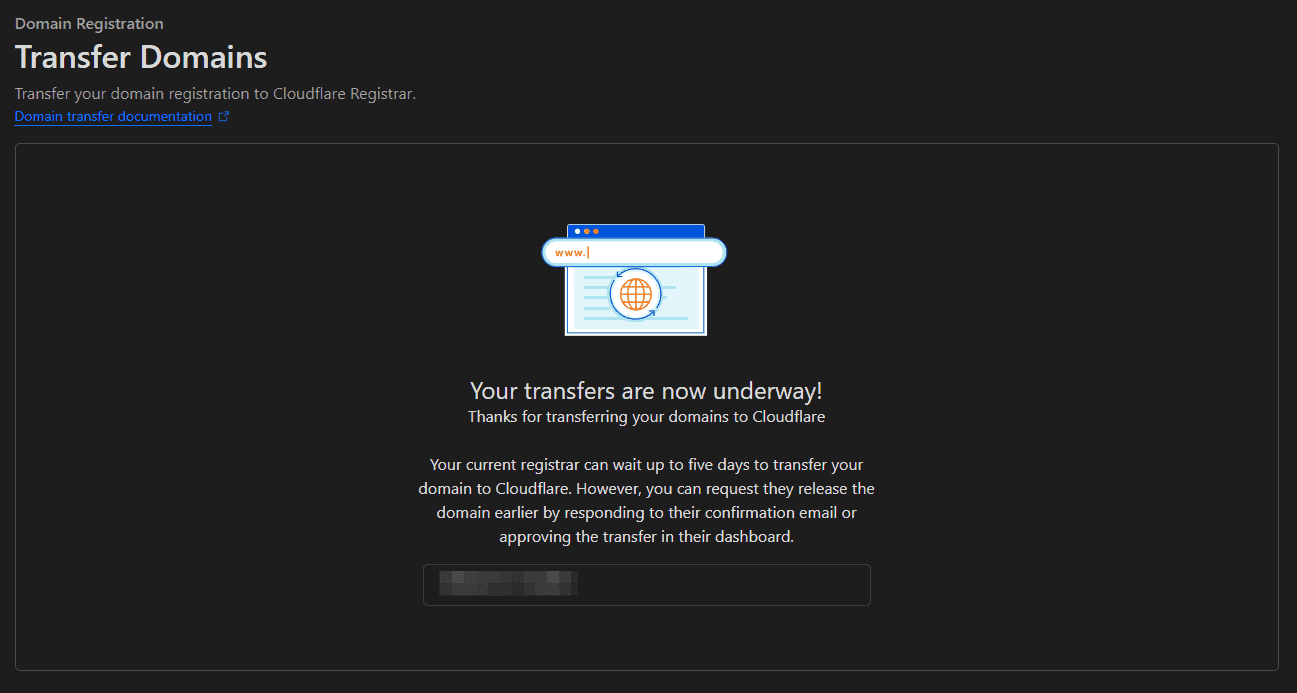
After payment and contact details have been confirmed, you will see the confirmation page Your transfers are now underway.
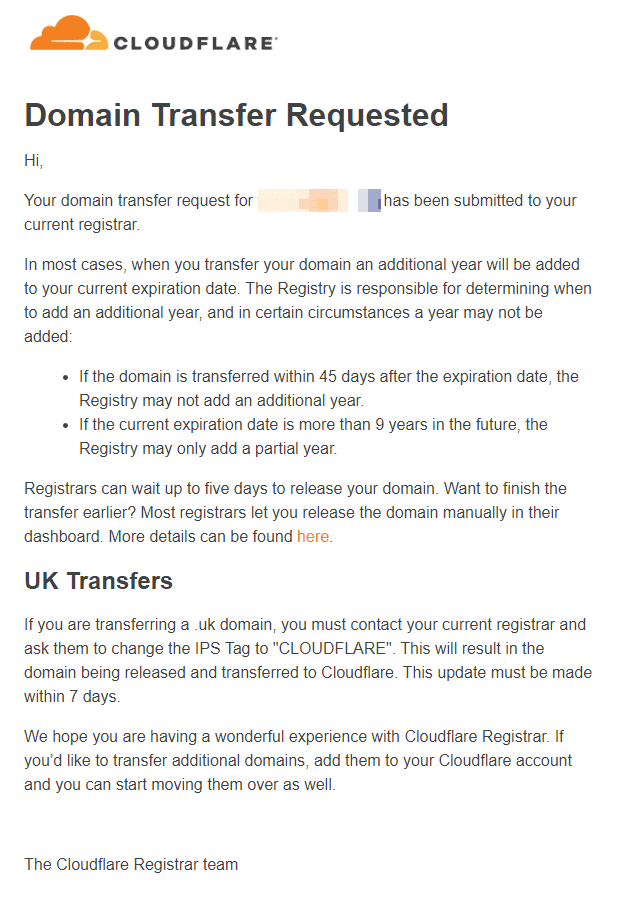
You will see an email from Cloudflare immediately after indicating a requested transfer to Google domains.
You will also see confirmation that you've been charged a payment for the domain.

7. Approve the Transfer
Once you have requested your transfer, Cloudflare will begin processing it, and send a Form of Authorization (FOA) email to Google Domains, if the information is available in the public WHOIS database. The FOA is what authorizes the domain transfer.
After this step, Google Domains will email you to confirm your request to transfer with a link. This is the quickest way to complete the transfer operation.
If you do not act on the email, Google Domains can wait up to 5 days to process the transfer to Cloudflare.
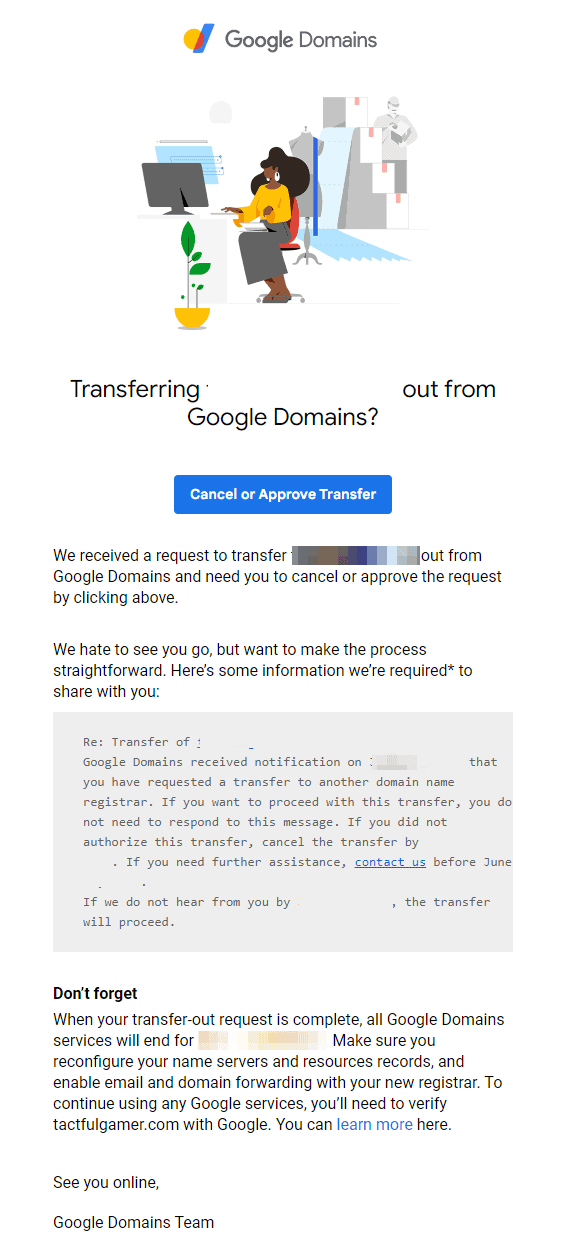
Clicking the Cancel or Approve Transfer link in the email will take you to your domain page in Google Domains. You will click the Transfer link to confirm you want to transfer there.
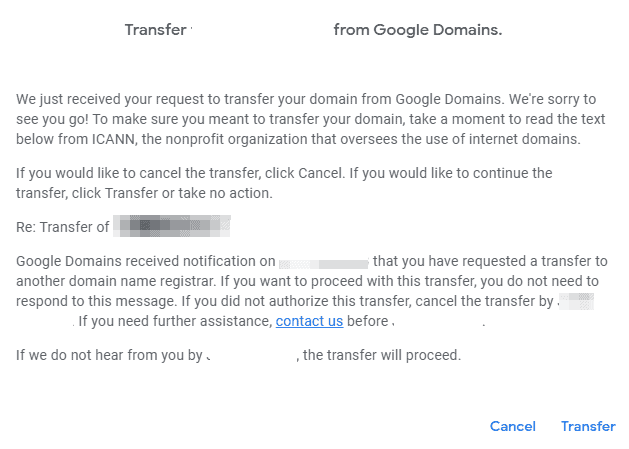
After confirming the transfer with Google, it takes a few hours (4-12) for the domain to be finalized in Cloudflare and removed from your Google Domains account.
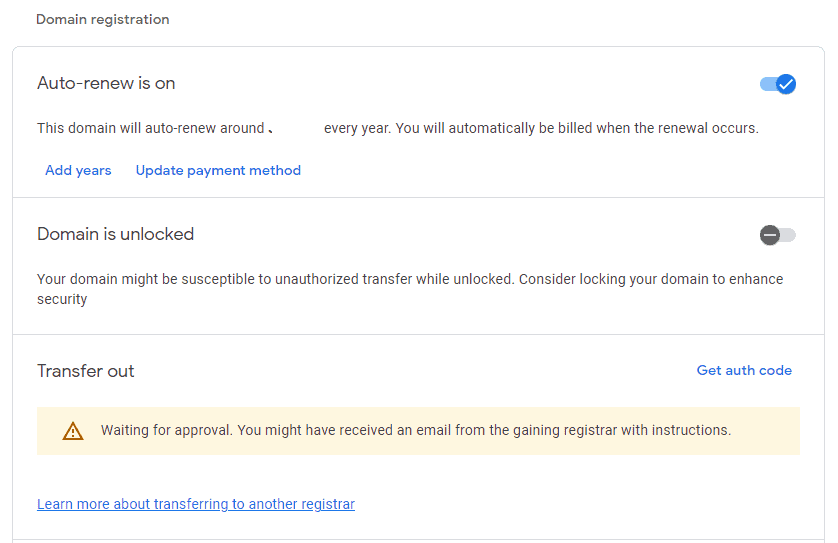
If you go back to your domain's Registration settings page in Google Domains, you will see a Waiting for approval warning for Cloudflare to confirm the transfer on their side.
Other Tips or Solutions After Transfering Google Domains to Cloudflare
Some of these items aren't as documented, so we want to share our experience so you can set the right expectations.
Review A, AAAA, and CNAME Records
If you had domain redirections with Google Domains, you will see 4 A records, 4 AAAA records, and 2 CNAME records in your domain area for Cloudflare.
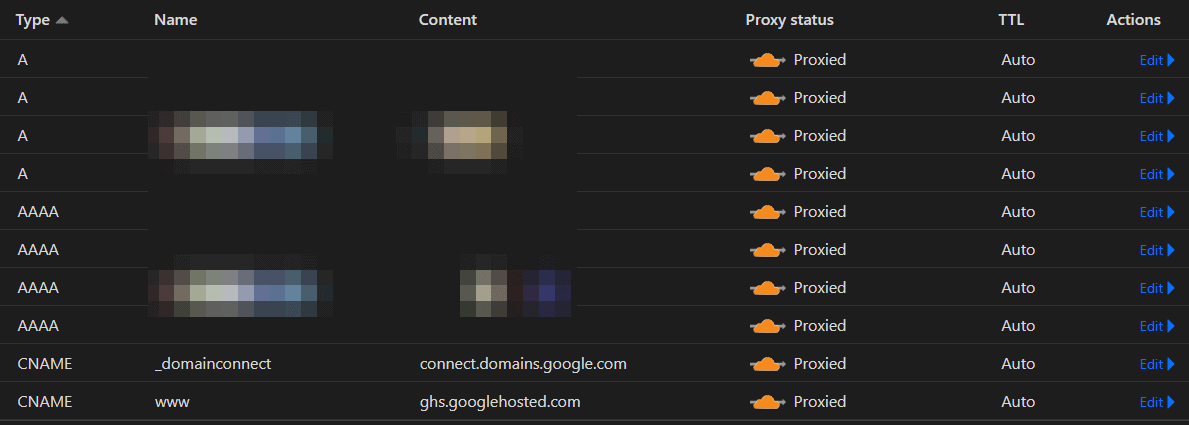
The CNAME records are of the following:
- _domainconnect, connect.domains.google.com - this open standard Domain Connect makes it possible to make DNS changes within Google Domains easily. You can safely delete these since you are no longer on Google Domains.
- www, ghs.googlehosted.com - this is normally used for Google hosted apps, but in this case, it redirects www.yourdomain.com to your pointed domain. This can also be safely deleted since you are no longer on Google Domains.
You would have seen these in the transfer process, but if you're like us, you just skipped right through to completion. Here's your chance to clean these up.
If this domain was only used for redirection to another domain, you can safely delete all these records and add your hostname redirection in the Rules area.
To Create a Redirect Rule
- Log in to the Cloudflare dashboard and select your account and domain.
- Go to Rules > Redirect Rules.
- Under Single Redirects, select Create Redirect Rule.
- Enter a descriptive name for the rule in Rule name.
- Under When incoming requests match, define the rule expression.
- Under Then, define the URL redirect settings for requests matching the rule expression.
- To save and deploy your rule, select Deploy. If you are not ready to deploy your rule, select Save as Draft.
The incoming traffic for the hostname referenced in visitors’ requests must be proxied by Cloudflare (also known as orange-clouded).
Read more about creating redirect rules on Cloudflare Docs for more info.
Re-enable DNSSEC
When you updated your nameservers, you disabled DNSSEC on Google Domains.
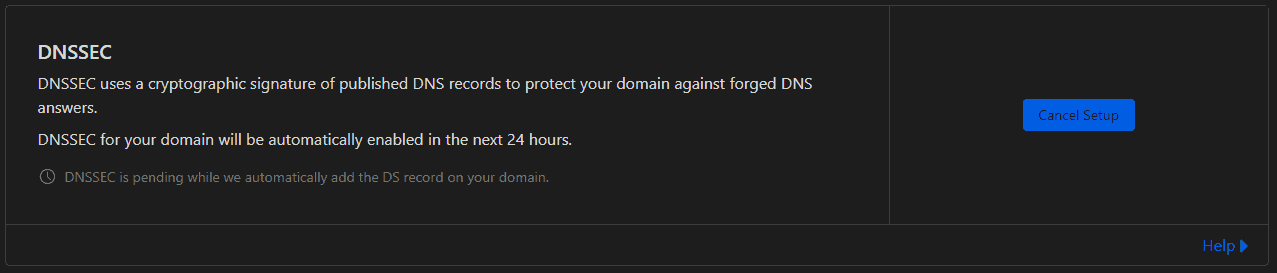
Cloudflare does not automatically enable DNSSEC, so you should now enable DNSSEC to protect from domain spoofing.
Simply click the Enable DNSSEC button to enable the automatic cryptographic signature generation and DS record placement.

It takes about a day for the change to go through. Nothing else to do here.
WHOIS Privacy (Contact Privacy) Is Different
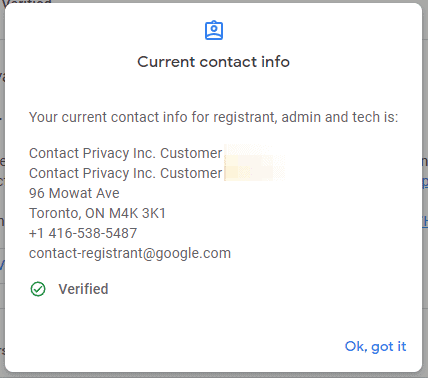
Google's privacy is great. It's entirely masked with a Canadian address.
Cloudflare also has privacy by default, but it does not protect your state and country.
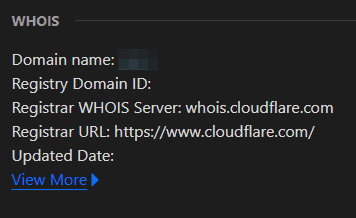
There isn't anything to do here. We just thought you should know what to expect.
Review Your SSL Settings
If you cannot access your site, or it's extremely slow, and you get the error ERR_TOO_MANY_REDIRECTS, you have some security settings to review.
We noticed that some of our sites kept going down and coming back up.

Go to SSL/TLS menu item under your domain. Under SSL/TLS Overview, you will see your encryption mode. It is set to Flexible by default.
You will notice icons flashing rapidly where the red circles are in the image below. Switching to Full or Full (strict) will stop this and make the connections more consistent.
If possible, Cloudflare strongly recommends using Full or Full (strict) modes to prevent malicious connections to your origin.

Depending on your host, you may need to keep Cloudflare’s Always Use HTTPS setting disabled. This is especially true if your host has their own Force HTTPS.
What was happening here is the Flexible setting was causing a redirect loop, making the site slow and sometimes unreachable. Flexible tells Cloudflare to use HTTP, but your server redirects to HTTPS, which isn’t going to happen with the Flexible setting.
We changed the encryption mode to Full (strict), and everything securely returned to normal.
For more details on these settings, see this Cloudflare support guide. Additionally, you can read more about Encryption modes and Always Use HTTPS by checking out the Cloudflare docs.
Revalidate Google Site Verification
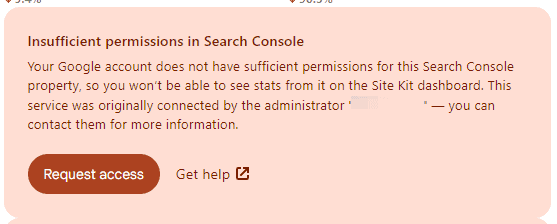
After you transfer your domain from Google Domains to Cloudflare, you may need to revalidate your domain. This is if you used Google Domains to prove your ownership with Google Search Console.
We first noticed this with Google Site Kit on a couple of our sites. If you see this, click the Request access button.
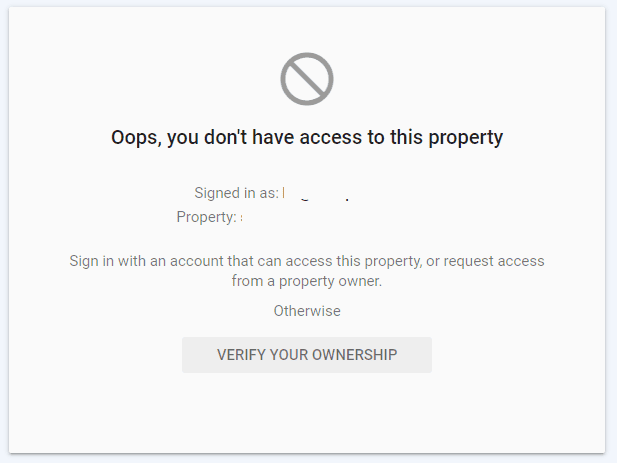
So we logged into our Google Search Console and looked at the domain properties we manage.
We no longer have access to the property. So we clicked the Verify Your Ownership button, as you should.
From here, it automatically detected that we are on Cloudflare. Click the Start Verification button to continue.
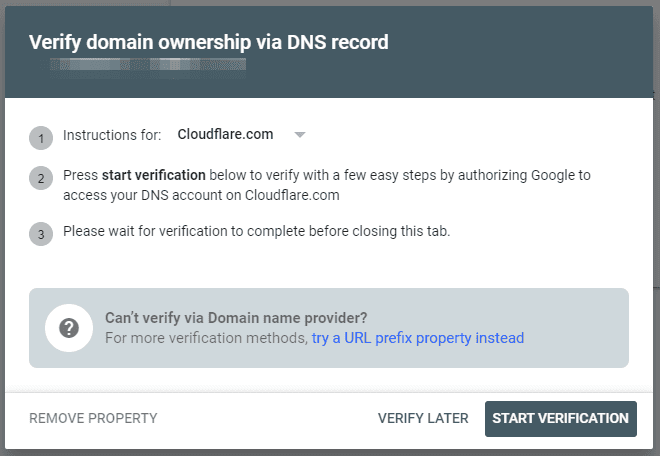
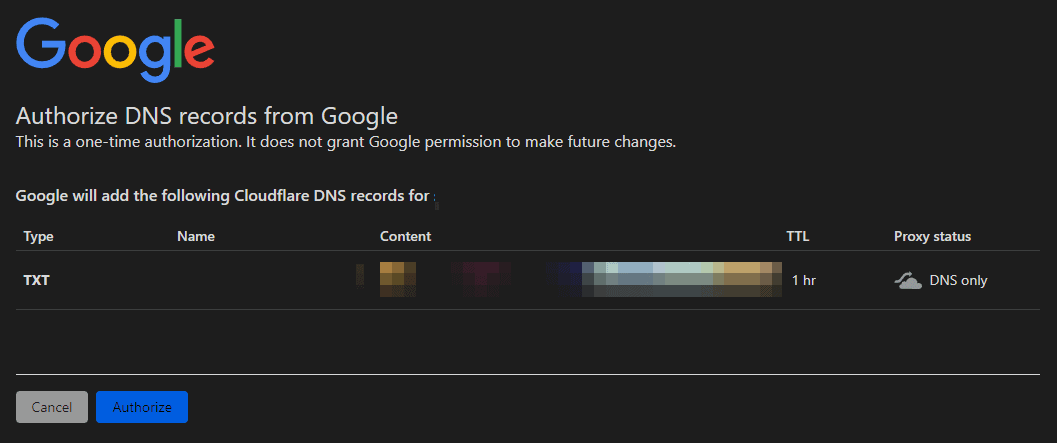
That link takes us to Cloudflare, where we can automatically authorize the new site verification DNS record. Click the Authorize button to continue.
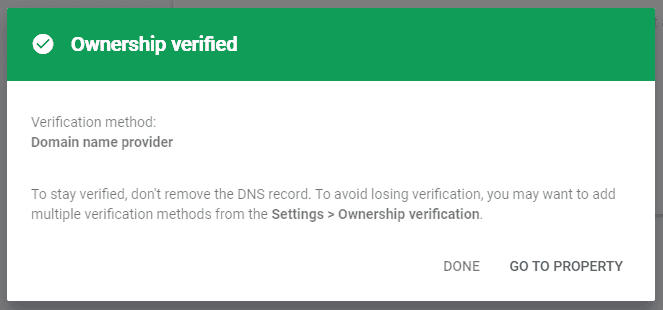
That's it. This is probably the easiest ownership verification we've seen. Ownership is now verified. You can either click the Done link or the Go To Property link.
Google Domains to Cloudflare Domain Transfer Conclusion
There you have it. If you need some of these steps explained better, let us know. Other than that, good luck!
