
Blogger by Google is an amazing blog platform that houses many newbie blogs. The blog options and even the monetization methods are pretty easy to go through and configure.
Eventually, though, you want better themes or extendability and Blogger doesn't offer easy ways to do that.
Enter WordPress.
WordPress is a great option and you've already made up your mind that you want to make the switch. But how will this switch impact your web presence?
Don't worry. You can safely migrate your Blogger content, even without losing search engine ranking.
Join us as we give you some easy steps to migrate Google Blogger to WordPress, including 301 redirections to bring old users and old search engine links to your website's new home.
Table of Contents
Step by Step Guide to Safely Migrating Google Blogger to WordPress
1. In a tab, go to your Blogger account and login at https://www.blogger.com.
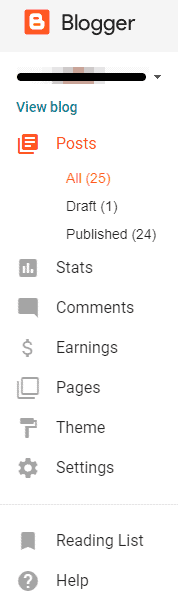
2. Click on Settings.

3. Under Basic, click Edit in the Privacy section.
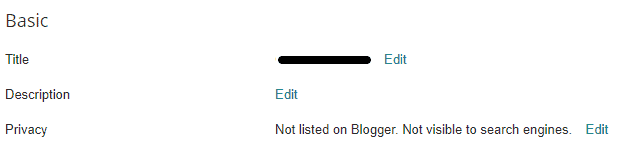
4. Two new options appear. Select No for both Options. Click Save changes. We don't want any more traffic to this platform.

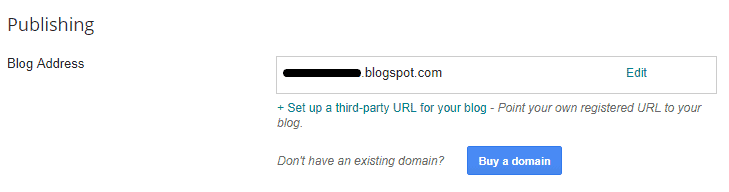
5. Under Publishing make sure your Blog Address is set to a blogspot.com domain. If you have a 3rd party URL setup here in this section, remove the association. This guide assumes you don't have a custom URL setup, as none of the websites we tested has this enabled.
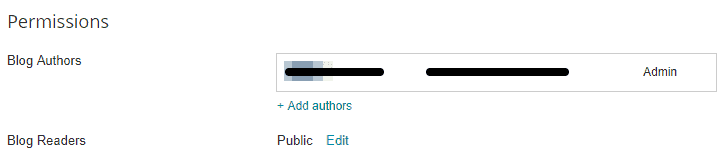
6. At the bottom area, Permissions, make sure Blog Readers is set to Public. You still want people to see the link to the articles. We'll redirect them to your new WordPress website.
7. Now go to Other under the Settings menu.
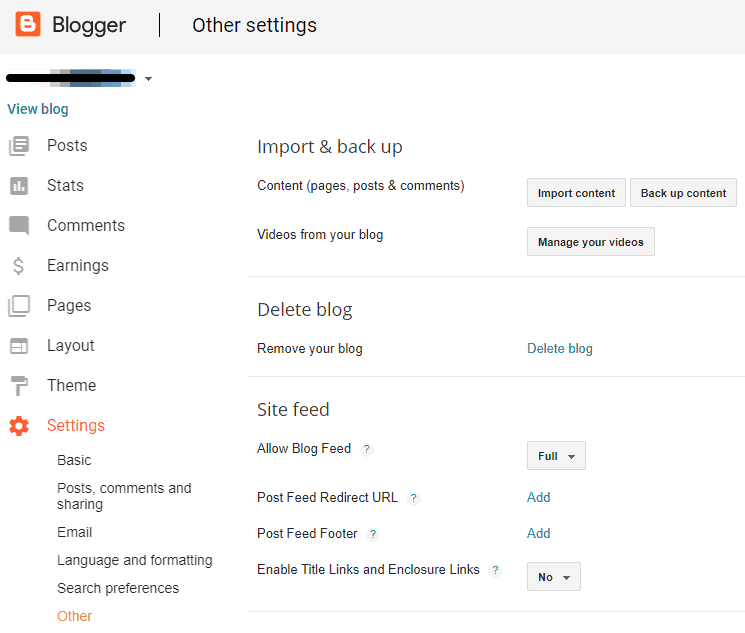
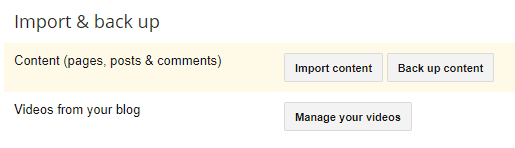
8. Under Import & back up, click the Backup content button.
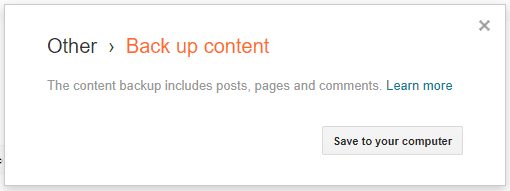
9. While on the popup, click the Save to your computer button to fully backup posts, pages, and comments.
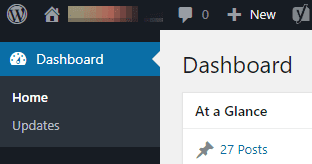
10. In a new tab (keep the Blogger tab open), log in to your WordPress website dashboard.
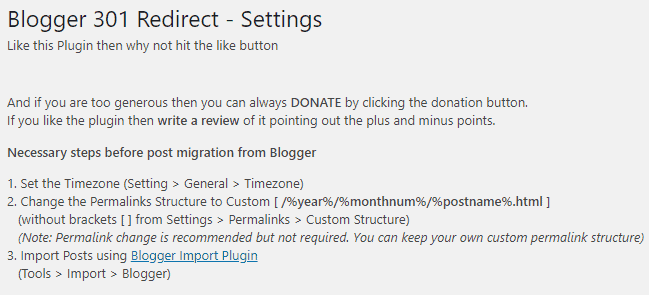
11. If your timezone hasn't been set in your WordPress website yet, go to Settings > General > Timezone and select the appropriate option for your timezone.

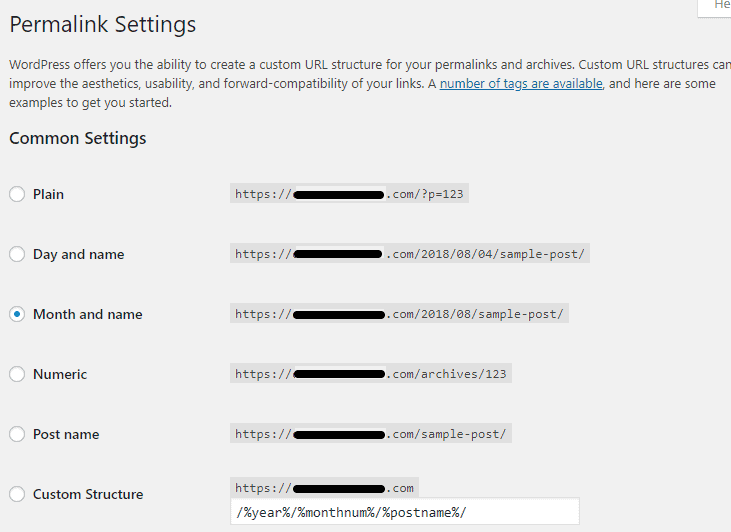
12. Click on Settings > Permalinks in your WordPress dashboard.

13. Choose the Custom Structure permalink radio button and paste this into the text field: /%year%/%monthnum%/%postname%.html. If your permalink setup is different on Blogger, change it accordingly but these are the defaults. You can change this later but this helps immensely with the import.
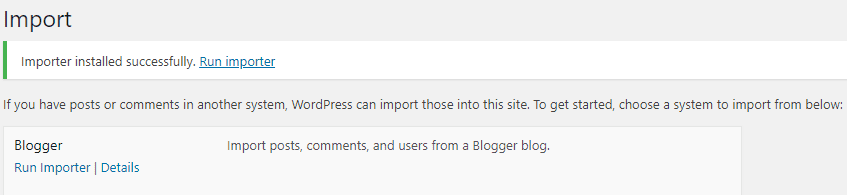
14. Go to Tools > Import > Blogger.

15. Install the official Blogger importer and activate the plugin.

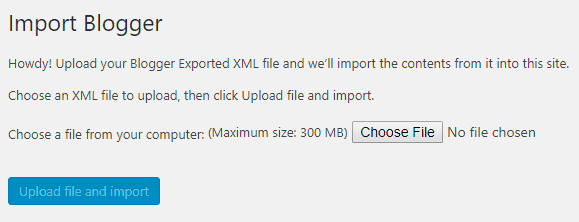
16. Import your backup file from Blogger into your new WordPress website.
17. Assign an Author to the imported posts by selecting the author and clicking the Save Changes button.
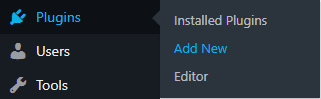
18. Go to Plugins > Add New and search for the Blogger 301 Redirect plugin by Sudipto Pratap Mahato.
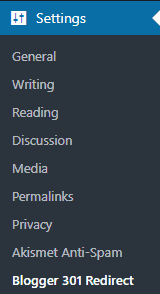
19. Activate the plugin and go to the settings at Settings > Blogger 301 Redirect.
20. You've already done the necessary steps 1-3. Under the next options section, make sure the 3 option checkboxes that are marked Recommended are checked. The other 3 options do not matter. Click Save Changes button.

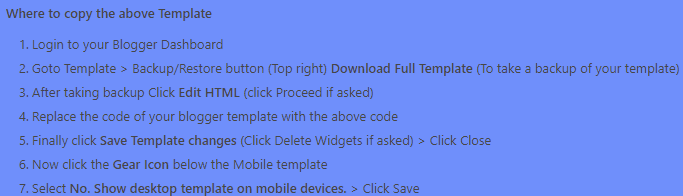
21. Note the 2 methods below the Save Changes button. Pick one of these methods and copy the text in the scroll boxes. We personally like Method 2: Using Classic Template as it has fewer steps.


22. Go back to your Blogger tab and click on the Theme link in the left-hand menu. From here, follow the directions to one of the 2 methods listed in the Blogger 301 Redirect Settings in your WordPress dashboard.

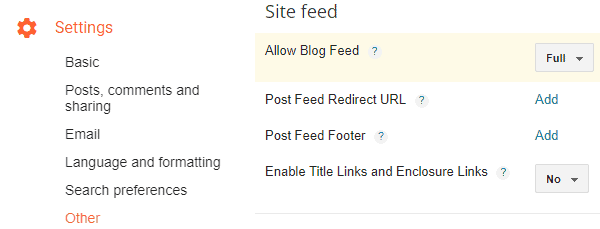
23. In Blogger Settings > Other, look for the Site feed section.
24. Change the Post Feed Redirect URL setting to your new WordPress website feed URL. This is something like https://yourwebsite.com/feed/. Click the Save settings button at the top right.
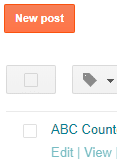
25. From here, go ahead and test your blog links to make sure their working. Click on Posts and the View link on a few posts to see if they redirect to your new WordPress website. From now on, no one will be able to get to the front end of your Blogger website!
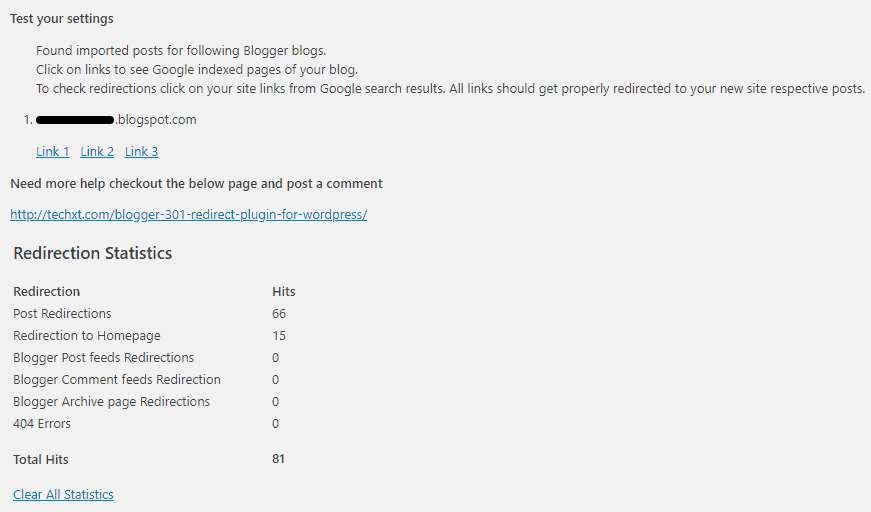
26. You can also go back and check the Blogger 301 Redirect Settings in your WordPress dashboard to make sure the Redirection Statistics look good and even test a few links as well.
Should You Delete the Original Blogger Website?
NO, NOT YET.
You want to make sure all content is ported over properly. And more importantly, you'll want to make sure search engines are pointing to your new domain and traffic stays consistent.
The answer to how long you should keep the original Blogger setup is essentially when the redirect links don't get used anymore. This can take anywhere to 3 to 12 months, depending on how big your website is.
Wrapping Up
There you have it. Not too bad. We actually did these steps twice without issue and think it flows pretty well. Once with a 300 page views a month website making $40 a month and another with a new website with no traffic.
What do you think? Reach out and let us know.
Thanks for joining us and enjoy your new WordPress website! You'll be able to customize it a bit more to get that functionality you're looking for.
Updates:
8/3 - added a few more images to the steps.
